How Do I Diagnose Common Issues with a Garage Door Remote Control?
Diagnosing problems begins by observing the symptoms carefully. If your remote fails to open or close the garage door, exhibits a weak signal, or shows no response at all, start by checking the LED indicator light on the remote. Press any button and see if the blinking light appears; this usually indicates the remote battery status.
Sometimes, signal interference from wireless devices such as WiFi routers, cordless phones, or even neighbouring remotes can disrupt the communication between the transmitter (remote) and the receiver (garage opener unit). Ensure that your remote is compatible with the garage door opener system’s model and signal frequency.
It’s also important to verify that the power supply feeding the garage door opener’s control module is stable. Check for blown fuses, faulty transformers, or loose wiring connections that might disrupt the opener's operation.
How Do I Replace and Test the Remote Battery?
The remote battery often causes the majority of problems. To replace it, carefully open the remote casing using a flat-head screwdriver or prying tool, avoiding damage to the button pad or internal components.
Remove the old battery, usually a coin-cell such as CR2032 or a similar type. Make sure to note the polarity before inserting the new battery to prevent voltage regulator issues. Once replaced, test the remote by pressing any button and observing the LED indicator. A bright light and successful door operation confirm the battery replacement was effective.
If the remote casing or button pad is damaged during opening or due to age, it may be necessary to replace the entire key fob for reliable performance.
What Are the Steps to Reprogram or Sync the Garage Door Remote?
After replacing the battery or if the remote stops communicating with the garage opener, reprogramming or syncing is often required. Locate the “Learn,” “Set,” or reset button on the garage door opener’s motor unit or control module—usually found near the antenna or on the back panel.
Press and release the Learn button; this activates the receiver to enter programming mode. Within 30 seconds, press and hold any button on the remote transmitter. The opener unit may respond with a blinking light or beep to indicate successful syncing.
For older models, reprogramming involves matching dip switch settings on both the remote and receiver. Consult your user manual for the precise dip switch configuration. Advanced systems might require EEPROM resets or software updates accessible via a keypad or specialized control module affordable Burleigh Heads garage services software.
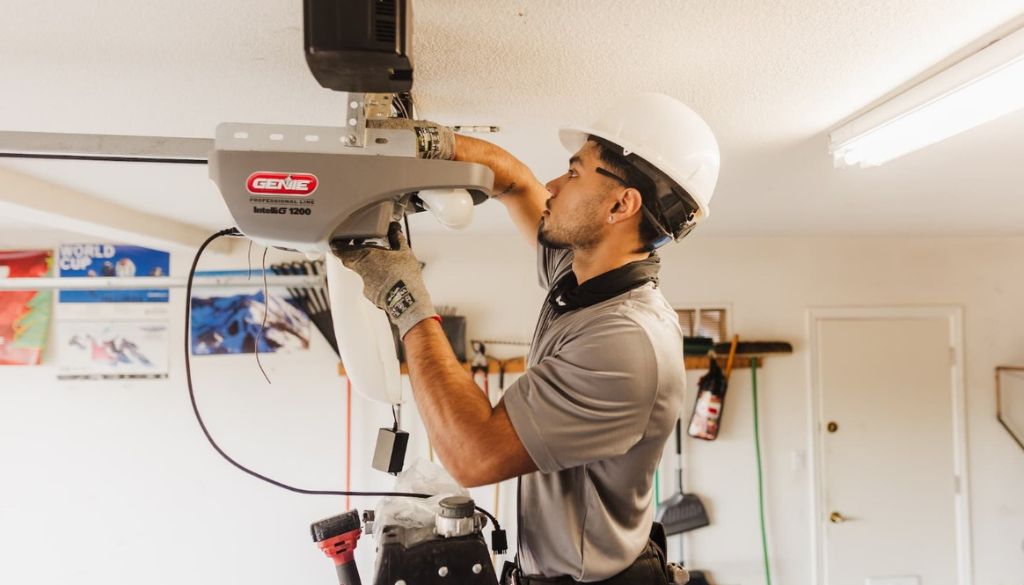
How Do I Check the Garage Door Opener’s Receiver and Antenna?
The receiver and its antenna are critical for wireless communication. Inspect the circuit board inside the garage door opener’s motor housing for signs of damage or burnt microchips. Look for loose or frayed wiring harnesses connected to the receiver module.
Ensure the dipole antenna wire is intact and positioned correctly, typically hanging vertically to maximise signal reception. If you find solder joints cracked or connectors loose on the circuit board, resoldering or replacing connectors can restore the connection.
A faulty or damaged receiver microchip often requires professional assistance or module replacement due to the circuit board’s delicate components.
How Can Sensor Alignment and Safety Sensors Affect Remote Operation?
Safety sensors fitted near the bottom of the garage door tracks ensure that the door does not close on objects or people, but they can impact remote operation if misaligned.
Both infrared sensors must face each other directly with a clear line-of-sight. Dirt, spider webs, or damage on sensor lenses can also block signals, causing the garage door opener to halt closing operations and display a blinking light.
Regularly clean the sensor lenses with a soft cloth and adjust their mounting brackets to ensure perfect alignment. Correct sensor positioning often resolves unexplained failures in remote-activated door closing sequences.
Our Sponsor
A1 Garage Doors Gold Coast
A1 Garage Doors Gold Coast is a Bundall-based garage door specialist serving the southern Gold Coast and surrounding suburbs with installation, repair, maintenance, and emergency garage door services. The company specializes in sectional doors, roller doors, garage door openers, spring and cable replacement, opener motor repair, smart-enabled installations, and 24/7 emergency call-outs across Robina, Burleigh Heads, Surfers Paradise, Nerang, Coomera, and the wider Gold Coast region.
Address:
1 Waterford Court,
Bundall,
QLD
4217,
Australia
Phone: (07) 5515 0277
Business Hours:
- Open 24/7 — Including After-Hours and Emergency Call-Outs
Follow Us:
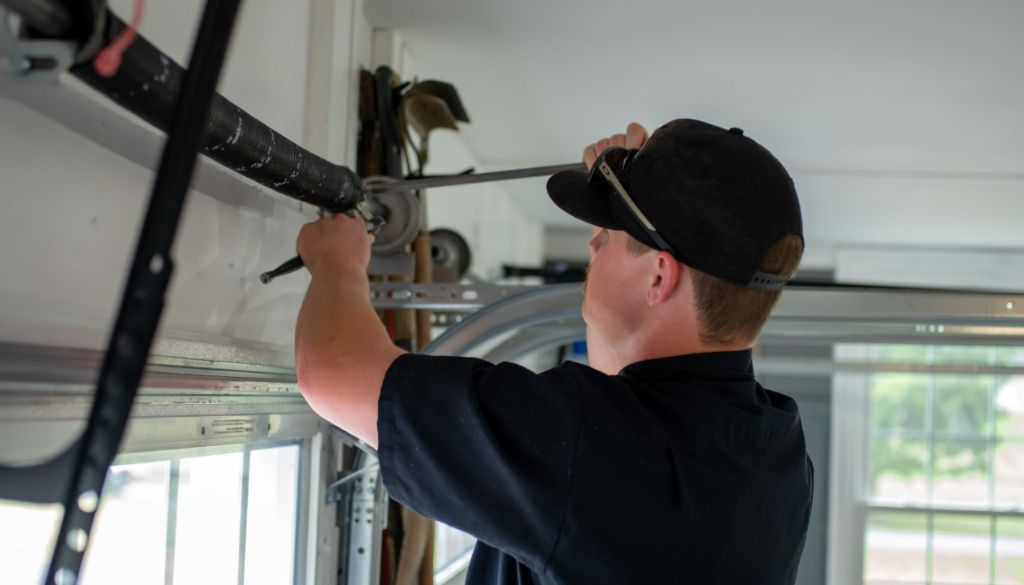
When Should I Inspect Mechanical Parts Like Springs, Rollers, and Track Alignment During Remote Repair?
While remote issues tend to be electronic, mechanical faults can hinder door movement, affecting your remote's effectiveness indirectly.
Check the tension of the torsion springs supporting door balance. Springs that are too tight or broken strain the motor, causing inconsistent operation. Examine door rollers and tracks for alignment issues or accumulated debris, and lubricate moving parts to reduce friction.
Tighten screws and mounting brackets securing the track and opener unit to avoid unstable door movement. A well-balanced garage door lessens stress on both the motor and the remote receiver circuitry, improving overall reliability.
How Do I Reset the Garage Door Opener and Use the Manual Release?
If your remote still doesn’t function properly, try resetting the garage door opener’s control module. Press the reset button located near the relay or fuse on the control board to reboot the electronics, clearing temporary glitches.
After resetting, if remote operation fails, use the manual release cord—usually red and hanging near the door's trolley—to disengage the door from the motor drive. This allows you to operate the garage door manually until repairs are completed.
Check the fuse and transformer supplying the control module for any voltage irregularities. A stable power supply is crucial for uninterrupted remote and opener operation.
What Should I Do If Interference or Compatibility Issues Persist?
Wireless interference is a common cause of remote malfunctions. Attempt changing the frequency or channel setting on your remote if this feature is available. Keep your remote away from devices emitting strong radio waves including routers and cordless phones.
If your remote is outdated or incompatible with the opener's receiver frequency, consider upgrading to a newer model designed to operate on current standards. Sometimes, applying software updates or firmware upgrades to the garage door opener control module improves wireless connectivity and security.
How to Safely Solder and Repair Circuit Board Components in Your Garage Door Remote?
If you have experience with electronics, repairing circuit board issues can be an option. Identify faulty capacitors, coils, or broken traces using a multimeter. Use a fine-tipped soldering iron to carefully replace or repair damaged components, taking care not to overheat the microchip or PCB.
Only attempt this if confident, as improper soldering can worsen damage. Always work in a static-free environment and follow safety guidelines.
When to Call a Professional for Garage Door Remote Control Repair?
If diagnostics reveal complex receiver failures, damaged microchips, or you feel uncomfortable working with electrical components, engaging a certified technician is recommended. Professionals provide expert insights, preserve your system's warranty, and ensure safety by handling high-voltage transformers and motors correctly.
Additionally, for mechanical repairs like spring replacements or advanced programming requiring specialized tools, professional service reduces risk and achieves long-lasting results.
How to Maintain Your Garage Door Remote and Opener System to Prevent Future Issues?
Regular maintenance prolongs your system's life and avoids unexpected failures:
- Replace remote batteries every 1-2 years or when LED brightness fades. Lubricate door rollers, springs, and tracks annually using manufacturer-recommended oils. Clean safety sensor lenses monthly to maintain infrared signal clarity. Inspect wiring harnesses and connectors periodically for wear or corrosion. Perform software updates to the control module to maintain security and compatibility.
Frequently Asked Questions (FAQs)
Q1: How do I know if my garage door remote is dead or just needs new batteries?
A1: Press any button and observe if the LED indicator lights up. No light usually means the battery is dead. Replace the battery first, and if the remote still doesn’t work, the remote itself may be faulty or require reprogramming.
Q2: Can interference from WiFi or other devices affect my garage door remote?
A2: Yes, interference from WiFi routers, cordless phones, or other wireless equipment can disrupt your remote’s signal frequency and reduce remote range or cause inconsistent operation.
Q3: Why does my garage door open from the wall switch but not the remote?
A3: This suggests issues with the remote transmitter, such as dead batteries, programming errors, or compatibility problems, whereas the opener motor and control module remain functional.
Q4: Is it safe to open and repair the circuit board inside my garage door remote?
A4: Only attempt if you have knowledge of electronics repair. Improper handling risks further damaging the microchip or voiding warranties.
Q5: How often should I replace my garage door remote’s battery?
A5: Typically, replace batteries every 1-2 years or sooner if you notice diminished remote range, intermittent function, or no LED indicator light.
In summary, garage door remote control repair involves methodical troubleshooting of batteries, programming, sensors, and electronic components while considering mechanical factors. With these steps, homeowners can restore their garage door’s remote functionality, enhancing security and convenience efficiently. For complex issues beyond DIY capabilities, professional service ensures safe and lasting repairs.